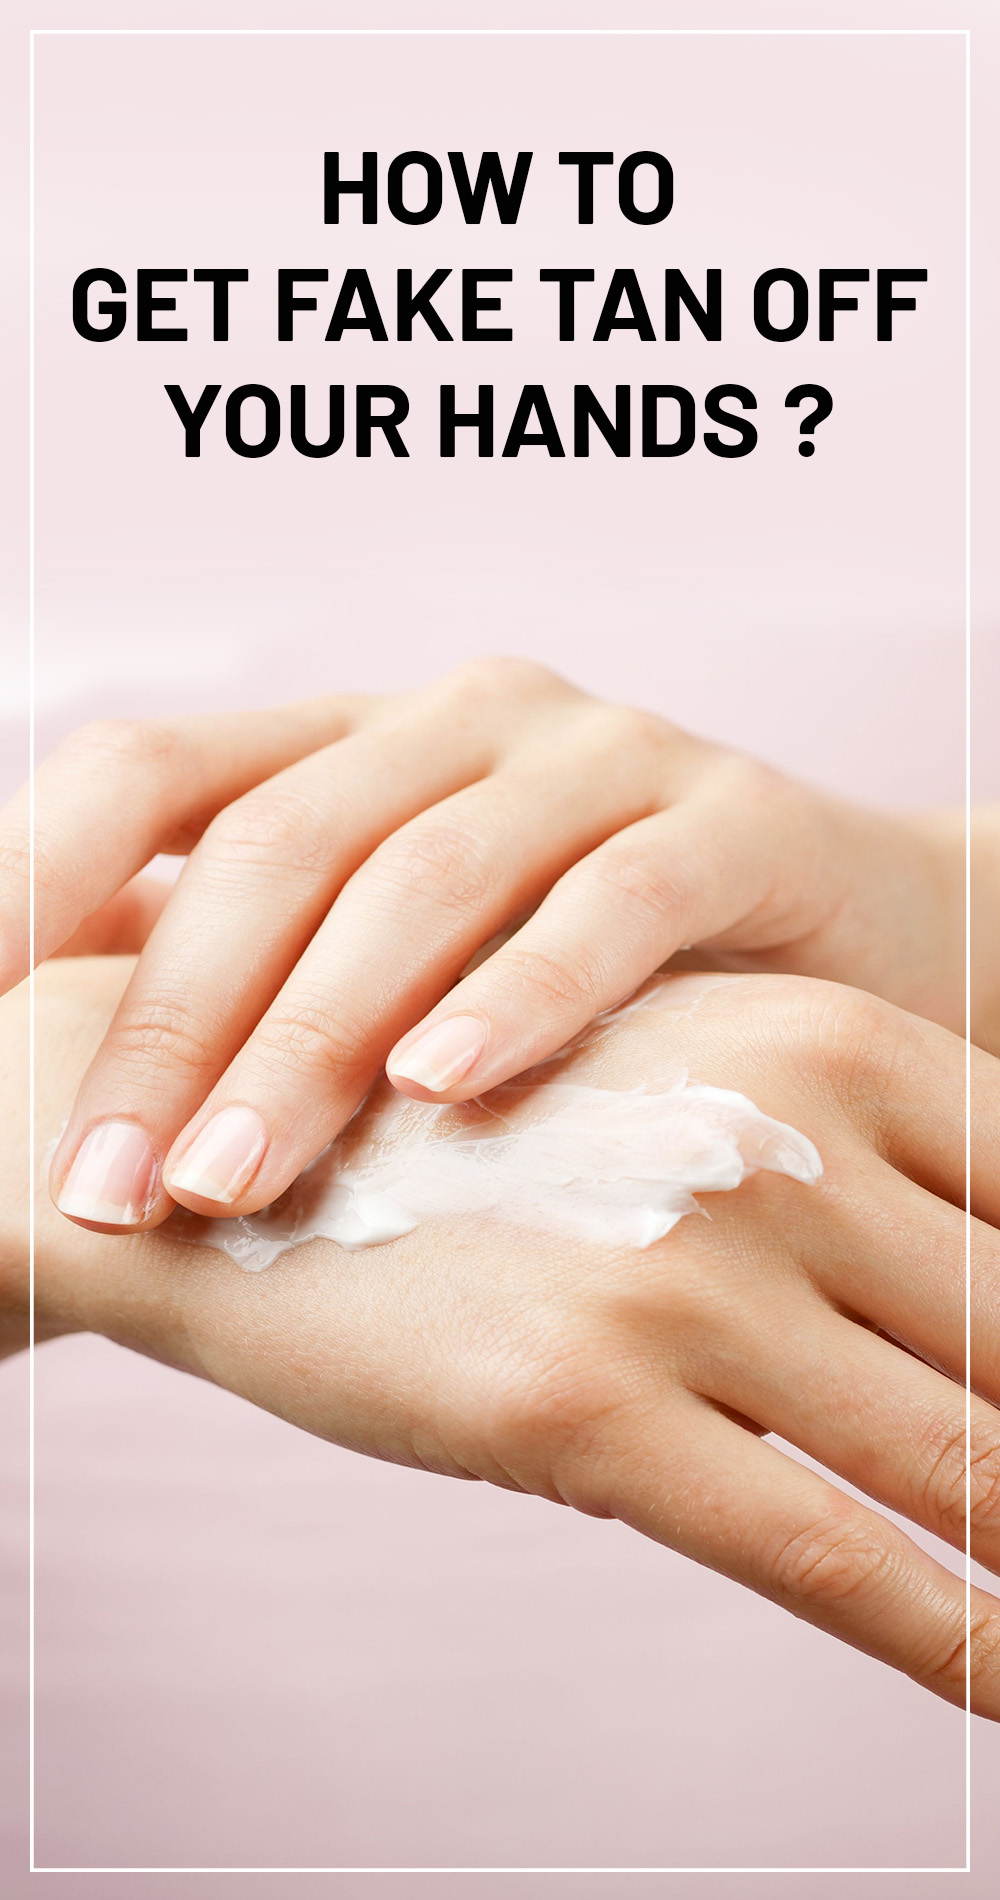
Get Rid Of Fake Tan On Hands: Quick Tips & Tricks You Need
Ever found yourself staring at a pair of hands that are less sun-kissed and more tangerine-tinged? The battle against the dreaded fake tan mishap is real, but the good news is, salvation is within reach.
Stained hands. It's a tanning woe that ranks right up there with streaks and uneven application. Its the telltale sign of a self-tan gone wrong, a vibrant orange testament to your attempts at achieving a sun-kissed glow. But fear not, because this article is your comprehensive guide to navigating the tricky waters of fake tan removal, ensuring your hands return to their natural, un-orange glory. From the best products to the tried-and-true home remedies, well explore everything you need to know to banish those stubborn stains.
Before diving into the solutions, lets acknowledge the problem. The modern desire for a golden tan, year-round, has spurred a massive market for self-tanning products. This trend is further fueled by a growing understanding of the dangers associated with sun exposure. Sunless tanning offers a safer alternative, but even the best products can sometimes lead to less-than-desirable results if not applied with precision and care. Product transfer, streaks, and the telltale sign of orange palms these are the challenges many face.
The key to removing fake tan lies in understanding how it works. Sunless tanning lotions interact with the top layer of your skin, so the solution to removing the tan lies in removing the dead skin cells that hold the colour. This is why exfoliation is so crucial.
Now, let's look at the various methods to rescue your hands from a self-tan disaster.
Here's a quick guide:
| Method | Description | How to Use |
|---|---|---|
| Exfoliation | The cornerstone of fake tan removal. | Use a body scrub or loofah in the shower, or create your own with sugar, oatmeal, or buttermilk. Rub gently. |
| Tan Eraser Products | Specially designed products to break down the tan | Apply as directed, often with an exfoliating mitt, for best results. |
| Baby Oil | Helps to soften the skin and loosen the tan. | Apply generously, leave for 30-40 minutes, then exfoliate in the bath. |
| Lemon Juice | A natural bleaching agent. | Apply lemon juice to the affected areas, allowing it to sit for a short period before rinsing. |
| Steam Room/Sauna | Opens pores to remove fake tan. | Use a steam room or sauna |
| Pumice Stone | For stubborn residue. | Gently rub the pumice stone to eliminate tanning lotion residue. |
Exfoliation is, without a doubt, your first line of defense. It's the most effective way to remove those dead skin cells and, with them, the unwanted tan. A good body scrub or a loofah are your tools of choice. You can also concoct your own scrub using ingredients like sugar, oatmeal, or buttermilk all readily available in your kitchen. Remember to apply gentle pressure to avoid irritating your skin.
If you're looking for a more targeted approach, several products on the market are specifically formulated to remove fake tan. These "tan erasers" often come in the form of mousses or lotions and work by breaking down the tanning agents on your skin. Michaella suggested using a tan removing mousse which works to break down the old tan . Bondi Sands Self Tan Eraser is a highly recommended option.
Baby oil is another handy trick in the fight against orange palms. It helps soften the skin, allowing the tan to loosen its grip. Apply baby oil generously to the affected areas, letting it sit for thirty to forty minutes before taking a warm bath and exfoliating. This will aid in lifting the tan.
For those seeking a more natural approach, lemon juice can be a surprisingly effective remedy. As a natural bleaching agent, it can help to lighten the tan. Apply lemon juice directly to the stained areas, allow it to sit for a brief period, and then rinse. It's a simple, readily available solution.
While you're working to remove the existing tan, remember to take preventative measures. Before applying self-tanner, exfoliate your hands thoroughly. This creates a smooth surface for the tan to adhere to. Then, when applying the product, use a tanning mitt to ensure even distribution and protect your palms from direct contact with the formula. And for an even application, consider using a tanning mist instead of a lotion or mousse, as these are less likely to result in staining.
Avoiding streaks and ensuring an even tan application is as important as knowing how to remove a bad tan.
If you're struggling to get rid of any remaining tan on your hands, arms or feet from your last tanning session, a tan removing mousse can be useful.
For those who prefer a more immersive experience, a steam room or sauna can also aid in tan removal. The heat opens your pores, helping to rid your skin of the product. However, this is best used as a supplementary method, not a standalone solution.
The key takeaway is this: you dont have to live with the consequences of a tanning mishap for long. The beauty of sunless tanning is its ability to transform your look in hours. However, a small error in application doesn't have to result in a long-term ordeal. With these methods, you can quickly address unwanted tan stains, allowing you to maintain a flawless, natural-looking glow. So, arm yourself with the knowledge and the tools, and confidently embrace the world of self-tanning, knowing that even the most stubborn stains are no match for your determination.
Finally, if your hands are suffering a major tanning fail, remember that with a little effort and the right approach, you can turn the situation around and get back to your best, sun-kissed look.
Dont let annoying tan lines ruin your look and enjoy your beautiful glow longer with a more even fade.


