Draw A Lighter: Step-by-Step Tutorials & Drawing Ideas
Can a simple spark of creativity ignite a passion within you? Drawing, at its heart, is about seeing the world differently, capturing the essence of light and shadow, and transforming it onto a blank canvas. This is where the journey of understanding "lighter" as a subject for artistic expression begins.
The dance between light and shadow is a fundamental aspect of any drawing endeavor. The shadows, always a direct consequence of the light's interaction with a subject, change with the angle and intensity of the light source. Consider the effect of the sun, for instance. High, bright sunshine striking a tree from directly above will create a short, almost squat shadow. This may not always serve the artist when striving for a more nuanced depiction of the subject. The way light interacts with an object, creating shadows, adds depth and dimension, transforming a flat sketch into a realistic representation. Understanding this interplay is crucial in translating the three-dimensional world onto a two-dimensional surface.
Drawing a "lighter" might seem like a straightforward task, but it provides an excellent opportunity to practice and hone these fundamental skills. The simplicity of the object, with its basic geometric forms, allows artists, especially beginners, to focus on the core principles of light and shadow. Capturing the metallic sheen, the curved surfaces, and the subtle details of a lighter provides a tangible and rewarding artistic challenge. The ability to render these nuances requires understanding how light behaves on different materials. Practicing the portrayal of such an everyday object can translate into broader artistic skills, leading to mastery in depicting more complex subjects.
| Feature | Description |
|---|---|
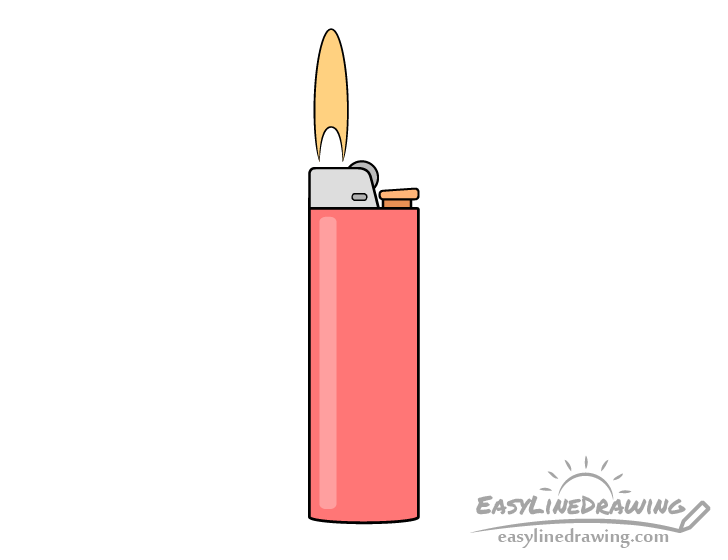
| Subject | The subject of this exploration is the "lighter", a small, handheld device used to produce a flame. |
| Purpose of Analysis | To provide guidance and inspiration for artists, especially beginners, on how to approach drawing a lighter, focusing on step-by-step techniques and understanding light, shadow, and form. |
| Key Elements for Drawing |
|
| Tools & Techniques |
|
| Inspiration & Resources |
|
| Key Skills to Develop |
|
| Example Tutorial Approach |
|
| Reference Website | Art Instruction Blog |
The digital realm also provides avenues for artistic exploration. Platforms such as "Paint online with natural brushes, layers, and edit your drawings" offer opportunities for experimentation. These tools, inspired by software like "Paint Tool SAI, Oekaki Shi Painter, and Harmony," allow for refining drawings and exploring the nuances of graphic art. Using digital drawing tools, users can import, save, and upload images, fostering a creative environment for artists to improve and share their work.
In the realm of drawing, mastering the interplay of light and shadow is paramount. The shadows are direct visual responses to the interaction of light and the objects it illuminates. This interaction defines the form and texture of any subject. For example, a bright, overhead sun casts shadows that can drastically alter the appearance of a tree. It is the artists role to interpret this play of light and dark to convey a subjects essence.
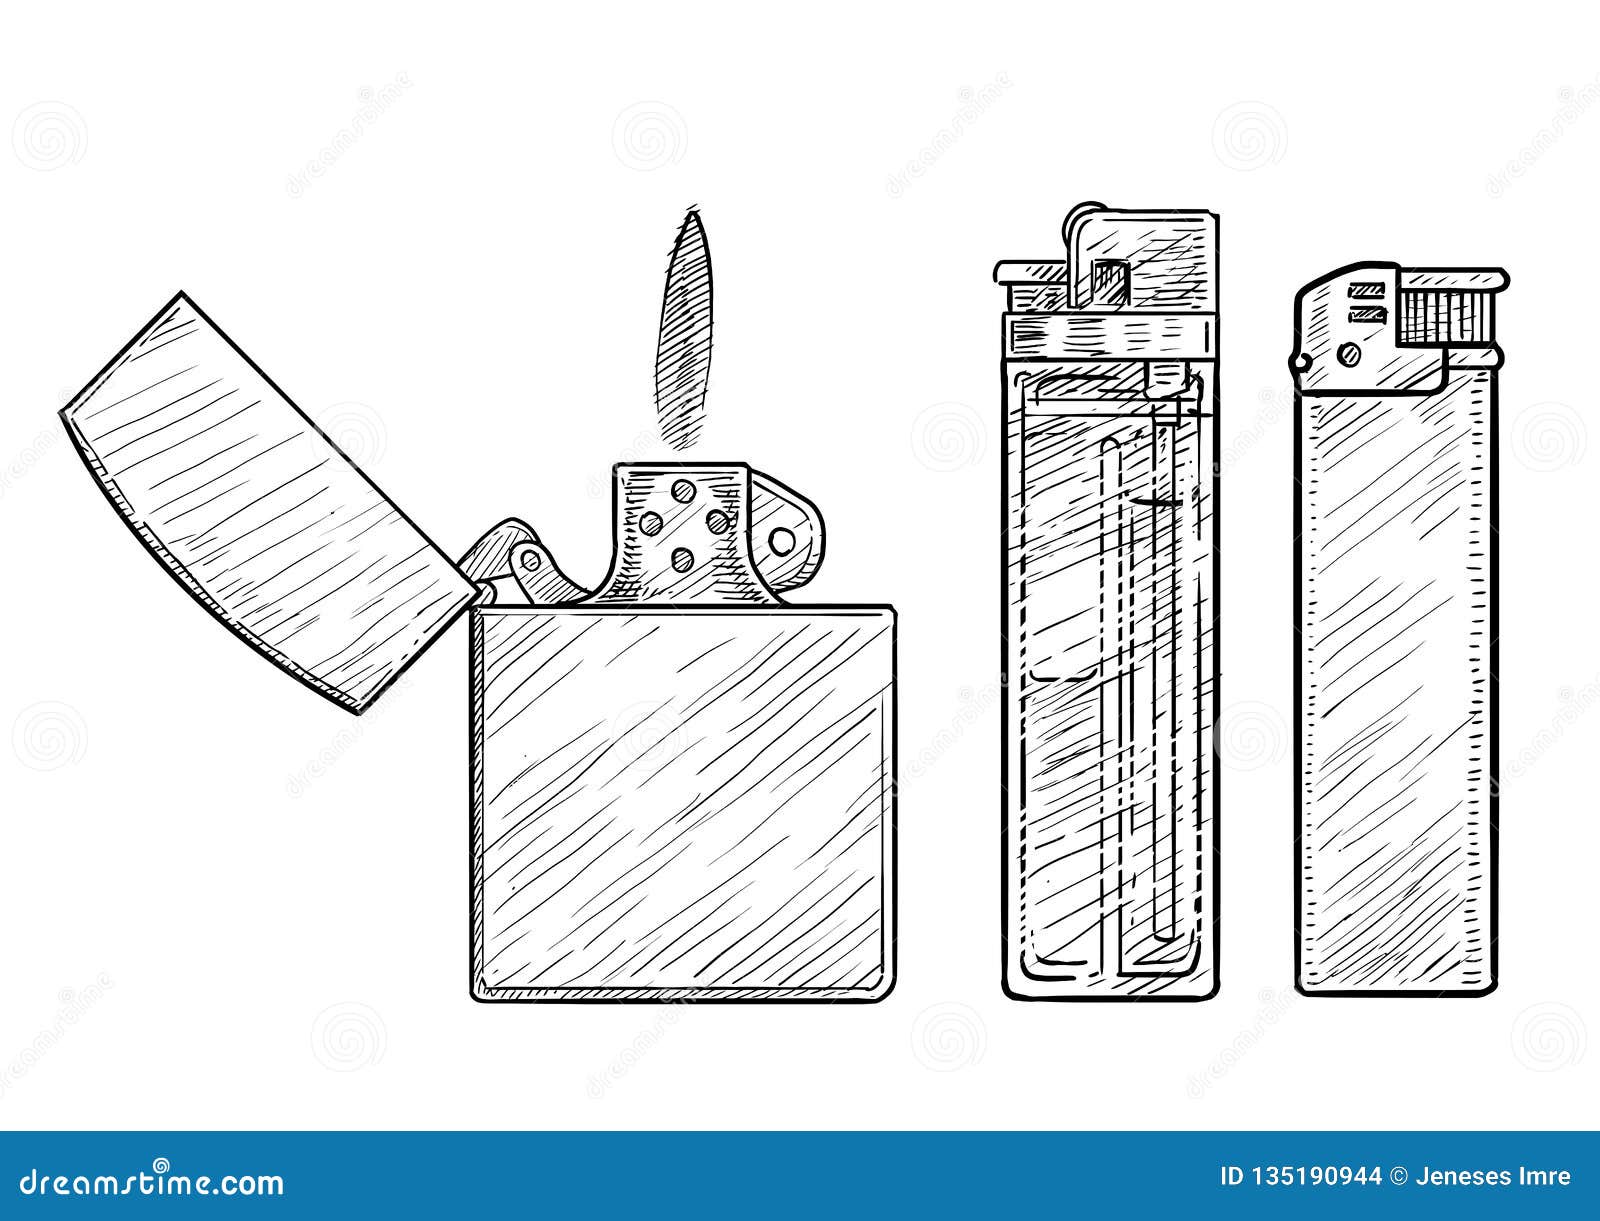
The task of drawing a lighter, while seemingly simple, is a perfect exercise for developing essential skills. A lighter, with its basic geometric forms, lends itself well to the study of light and shadow, offering a manageable challenge for beginners. The metallic surfaces, curved shapes, and small details create a tangible, rewarding artistic undertaking. Through this, artists can practice rendering reflective materials and translucent elements, deepening their understanding of how light behaves.
Online platforms, from TikTok to Pinterest, host a wealth of resources for drawing inspiration. Videos from creators such as inthehandsoflando and chill with aki on TikTok provide easily accessible, step-by-step tutorials for beginners. These tutorials make it easier to learn the fundamentals of drawing a lighter, building confidence and inspiring creativity. Such resources emphasize the idea that art can be learned incrementally, perfect for the drawing enthusiast. Hashtags like #artistsoftiktok and #howtodraw are a testament to the vibrant online community of artists sharing their knowledge and creations.
The approach to drawing a lighter usually involves a step-by-step methodology. This can include: starting with basic shapes like rectangles or cylinders, then adding details like hinges, the flint wheel, and the flame. Shading techniques are subsequently applied to establish dimension, followed by highlights to capture the direction of light. This technique is repeatedly practiced with different types of lighters, creating a dynamic and evolving artistic journey.
The auxiliary power port in a vehicle is a good case study to analyze electrical principles. Understanding the power limits and how to work within them is crucial for safety. One must first "Identify the maximum current draw of the device," and then "Assess the capacity of the cigarette lighter in terms of voltage and current." The next crucial step is to select the appropriate fuse, selecting one with an amp rating slightly higher than the anticipated device draw, to account for those initial inrush currents.
Drawing a lighter opens the door for creative expression. Using color pencils, as demonstrated in some tutorials, creates an opportunity to practice and learn drawing techniques. Step-by-step tutorials offered on multiple platforms provide easily understandable methods for both beginners and drawing enthusiasts. Creating such drawings in just a few minutes is possible, further reinforcing this idea. By experimenting with the different types and styles of lighters, one can find personal satisfaction and inspiration, getting inspired to try new things.
The inspiration for drawing a lighter is multifaceted. It includes a combination of a need for drawing inspiration when bored, and the desire to create something new. Finding inspiration for drawing a lighter includes discovering ideas on platforms such as Pinterest. These resources provide inspiration that will boost the creative process.
The world of online art and graphic design provides ample opportunities. Digital tools such as those mentioned are inspired by a range of softwares. Being able to import, save, and upload images, helps artists streamline their creative process. This is a good way to use online platforms in combination with drawing skills, and to improve those skills.
Art is a skill to be developed through practice and creativity. Those who seek to improve can learn to draw by following simple steps and tutorials. The goal is to achieve artistic mastery through simple, attainable lessons. These steps are designed to assist artists as they build skills, from observing and hand-eye coordination, to representation and shading.

