Access Your Raspberry Pi From Anywhere: Secure Remote Access Guide
Have you ever dreamt of wielding the power of your Raspberry Pi from any corner of the globe? Unleash your Pi's full potential and gain complete, secure control, no matter where your adventures take you, transforming a simple device into a truly versatile asset.
The world of single-board computing opens up when your Raspberry Pi transcends the confines of your local network. Imagine the freedom to work on projects, troubleshoot issues, or simply access your files remotely, all without being physically present. This article delves deep into the methods, tools, and techniques that empower you to connect to your Raspberry Pi from anywhere, anytime. Whether you're a seasoned tech enthusiast or a curious beginner, the journey to remote access is more accessible than you might think.
| Remote Access Methods for Raspberry Pi | |
|---|---|
| Method | Description |
| SSH (Secure Shell) | Provides remote terminal access to the command line of your Raspberry Pi. Ideal for command-line operations, configuration, and general system management. |
| VNC (Virtual Network Computing) | Allows access to the full graphical user interface (GUI) desktop of your Raspberry Pi. Great for visual interaction and running applications with a graphical interface. |
| RDP (Remote Desktop Protocol) | Similar to VNC, RDP offers another way to access the GUI desktop. Often preferred for its performance and features in certain environments. |
| VPN (Virtual Private Network) | Creates a secure, encrypted connection to your home network. Offers a secure tunnel for accessing your Raspberry Pi and other devices within your home network. |
| Dynamic DNS (DDNS) | Updates your Raspberry Pi's public IP address to a domain name, allowing you to access it even if your IP address changes. |
| Port Forwarding | Configures your router to direct incoming network traffic on specific ports to your Raspberry Pi. |
| Tunneling Services (e.g., ngrok, Pitunnel, Tailscale, remote.it, pinggy.io) | These services provide a simplified method to create secure tunnels, bypassing the complexities of port forwarding and dynamic DNS. |
| Web Server | Creates your own personal raspberry pi web server allowing you to access your files from anywhere in the world through the internet. |
For more details on setting up and configuration visit Raspberry Pi documentation https://www.raspberrypi.com/documentation/
Before diving into the specifics, it's crucial to understand the foundational elements of remote access. This involves setting up your Raspberry Pi with a static IP address. The importance of setting up your Raspberry Pi with a static IP and enabling remote SSH access is a great way to maximize its utility and securely manage it from anywhere. This ensures a reliable and consistent network address for your device, making it easier to locate and connect to. For personal projects or as part of your smart home setup, these steps will ensure a reliable and secure connection.
SSH, or Secure Shell, is your gateway to the command line. This is where you can remotely execute commands, configure settings, and manage your Pi without a connected monitor, keyboard, or mouse. SSH gives you remote terminal access to the command line of the Raspberry Pi. To access your Pi's command line remotely, you will need an SSH client installed on your device. Once you have done this, use below command to connect:
ssh pi@your_pi_ip_address
You'll be prompted for your Pi's password. After successful authentication, you'll be placed in the shell prompt.
For a more visual experience, VNC (Virtual Network Computing) and RDP (Remote Desktop Protocol) are the tools of choice. VNC provides secure access to a desktop screen share on your Raspberry Pi, allowing you to interact with the graphical interface. RDP offers a similar experience. Both VNC and xrdp allow access to the full GUI desktop of your Raspberry Pi. The approach you choose often depends on your needs and preferences, along with device you are using, but the end result is the same: you can see and control your Pi's desktop from afar. Vnc (virtual network computing) provides secure access to a desktop screen share on your raspberry pi.
To get started with VNC, you'll need to install a VNC server on your Pi and a VNC viewer on your connecting device. All you need is another computer, a local network, and the local IP address of your raspberry pi. After installation and configuration, you can connect to your Pi using its IP address and the port you've configured. To access the Pi from other operating systems such as iOS, Android or Linux then make sure to download the VNC viewer application for that device, sign in, and then you'll be able to access your pi from your mobile devices too.
VPN (Virtual Private Network) offers a robust layer of security by creating an encrypted tunnel to your home network. VPN helps connect raspberry pi securely from anywhere by tunneling into your home network. By establishing a VPN connection, you can securely access your Pi, as well as other devices on your home network, as if you were physically present. Consider setting up a VPN on your Raspberry Pi and using a VPN client on your laptop, smartphone, or whatever you want to use.
Dynamic DNS (DDNS) services and port forwarding play an essential role in providing a reliable connection. However, while the device is small and handy it is still not so portable as a server, because conventional server installation usually includes domain name registration, setting up static IP addresses and configuring port forwarding on a router. Because dynamic DNS services keep track of your IP address, you can always know your Pis current IP address and ensure its remote accessibility. Port forwarding on your router then directs incoming connections to your Pi. If you have a vps you could also set up a vpn, although if from my office means using the office computer then that's a little iffier. To access the pi from other operating systems such as ios, andriod or linux then make sure to download the vnc viewer application for that device, sign in, and then youll be able to access your.
Tunneling services, such as ngrok, Pitunnel, Tailscale, remote.it, and pinggy.io, simplify the process. These services create secure tunnels that bypass the need for complex port forwarding and DNS configuration. They act as intermediaries, securely forwarding traffic to your Pi without requiring you to expose your Pi directly to the internet. All your raspberry pi needs is an internet connection and pitunnel will do the rest. Pitunnel is a service for remotely accessing your raspberry pi, and the projects that you build on it. A device monitor and remote terminal is included, and you can also create your own custom tunnels to access services running on your. Your port will be cloaked on raspberry pi and because youre connecting via remote.its service, you will not be sharing your IP and port information publicly. And the P2P service ensures that your data is not flowing through remote.its service. Learn how to securely connect to your raspberry pi or IoT device remotely over the internet without the need for port forwarding. Explore methods such as ssh, vnc, and rdp, and discover how to use pinggy.io to create secure tunnels for seamless remote management. Enhance your IoT device control and management from anywhere in the world.
Once your web server is running, test that it is accessible on your local network by trying to access it with a web browser from another computer on your network. Creating a tunnel to access it remotely. Once your web server is running, and it is accessible on your local network, you need to create a custom tunnel so that it can be accessed.
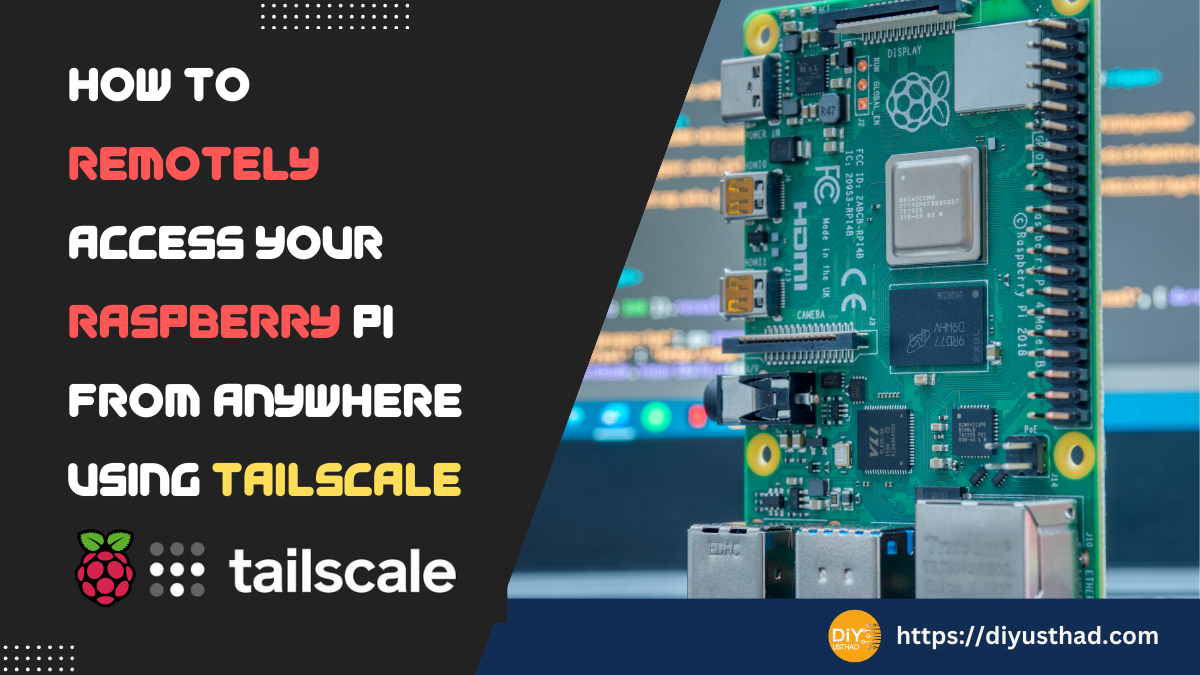
Have you ever wanted to access your raspberry pi from anywhere in the world, without worrying about port forwarding, dynamic dns, or firewall rules? If so, this blog post is for you. In this post, i will show you how to use tailscale to remotely access your raspberry pi from your phone, tablet, or another computer. Raspberry pi is an ideal platform for setting up personal services, like git daemon, remote backup server, proxy server\u2026 you name it.
One effective approach is the use of services like Raspberry Pi Connect. Raspberry pi connect shares your raspberry pis screen securely with no need to determine your local ip address. Once signed in, the only thing to do is to link your current raspberry pi to your account: The first step is to give it a name: And then it will be recorded, and accessible from anywhere: Access your raspberry pi remotely. Once the service is installed and running, and the raspberry pi is linked to your account, you can access it from anywhere. What happens under the hood? I asked paul mucur, who runs web development at raspberry pi, to explain how the underlying technology works:
For those seeking a more straightforward solution, services like Tailscale offer a simplified way to create a secure private network. Using Tailscale, you can connect your Raspberry Pi to your phone, tablet, or another computer. By using this method, you bypass the need for port forwarding and dynamic DNS. This method will allow access to your Pi with minimal configuration.
With these tools and techniques at your disposal, the possibilities are endless. You can leave it plugged in safely at home and work exclusively from your laptop. Never again will you be stranded without access to your incredible raspberry pi. Finally, access your pi from anywhere! With the two approaches outlined here, you have complete access to your pi from anywhere in the world. Whether you want to work on pi projects away from home, troubleshoot issues, or access files remotely, raspberry pi gives you the flexibility to connect over the internet from any device.
The key to remote access is security. Always prioritize secure connections and regularly update your system to protect against vulnerabilities. For security reasons, always provide your device login credentials, you will placed in the shell prompt after successful authentication. Setting up your raspberry pi with a static ip and enabling remote ssh access is a great way to maximize its utility and securely manage it from anywhere.
Consider utilizing SSH keys for authentication instead of passwords. SSH keys provide a more secure authentication method. Always keep your system and applications up-to-date. Regular updates patch vulnerabilities and enhance security. Click the terminal icon next to your device to get into the ssh shell of your raspberry pi. Provide your device login credentials and you will placed in the shell prompt after successful authentication.
Setting up a web server on your Raspberry Pi unlocks another dimension of remote access. Creating your own personal raspberry pi web server allows you to access your files from anywhere in the world through the internet. By installing a web server (such as Apache or Nginx) on your Pi, you can host websites, access files, and create personalized online services. After subscribing, in the dashboard, simply go in the dynamic dns section. Then create hostname. Choose a name on the next screen, let the options by default and validate. Below is a snapshot of how you can access a web portal via an ngrok tunnel.
To know more visit this blog article on raspberry pi remote access using socketxp. Use the below command to create a tunnel for port 22. Using port 22 we can ssh into the device. To access the pi from other operating systems such as iOS, Android or Linux then make sure to download the VNC viewer application for that device, sign in, and then youll be able to access your. Remember that these methods are not mutually exclusive. You can combine them for enhanced security, flexibility, and control.
Whether you are an experienced tech user or new to this field, having access to your Raspberry Pi from anywhere is a powerful and rewarding experience. With the right tools and knowledge, you can transform your tiny computer into a portable, always-accessible powerhouse, ready to serve your needs, no matter where you are.

